|
Making Wire-Wrapped Loops
Tutorial Guides
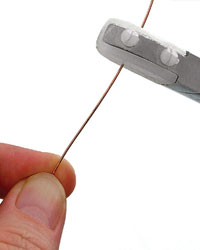
Step 1: Practice wire wrapping with either 22- or 24-gauge wire. Harden slightly by pulling on one end with the other end clamped in a vise or pull one or two times through nylon-jaw pliers. |
 |
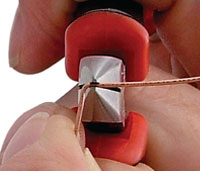
Step 2: Make a 90-degree bend about 1 1/2 inches from end of the wire using chain-nose pliers. |
 |
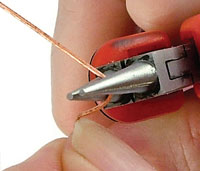
Step 3: Using round-nose pliers, grab wire about 3/8 inch away from the 90-degree and roll your hand away from yourself, toward the bend until a loop is halfway formed. |
 |
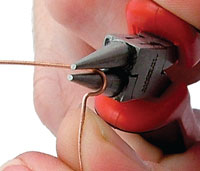 |
Step 4: Without removing plier from forming loop, open the jaw and rotate plier clockwise about 1/4 turn. |
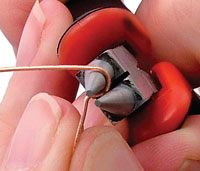 |
Step 5: Grab the end of the wire with your left (nondominant) hand and pull it around the rest of the way until it crosses itself and completes the loop. |
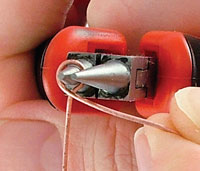 |
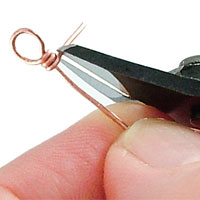
Step 6: Switch to chain-nose pliers, holding across the loop. Wrap tail around wire under loop with your left hand. If you are using a heavy gauge of wire, it is often easier to use a second plier to pull the tail around instead of your fingers. |
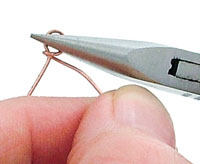 |
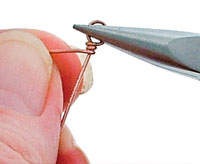 |
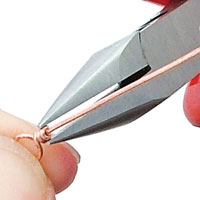
Step 7: Flush cut wire as close to the wrap as possible. Tuck end down if needed, using chain-nose pliers. |
 |
 |
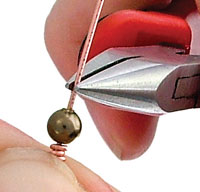
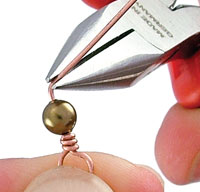
Step 8: To create a wrap on the opposite end of the bead, leave a gap equal to wrap space on first end. Grasp to the right of the wrap space and make a 90-degree bend. |
 |
 |
Repeat from steps 3-8 to complete. |
|
|
|
|