Applying Bias Stems
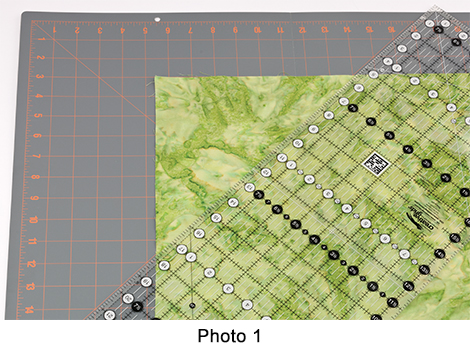
| Here is a fast and accurate way to apply bias stems, stitching them by machine and finishing them by hand. 1. Straighten and press the bias stem fabric. 2. Position the fabric along a straight line on a rotary cutting mat with straight and 45-degree diagonal lines. 3. Place your ruler along a 45-degree line and make a cut diagonally across the fabric. As you see in Photo 1. |
|
 |
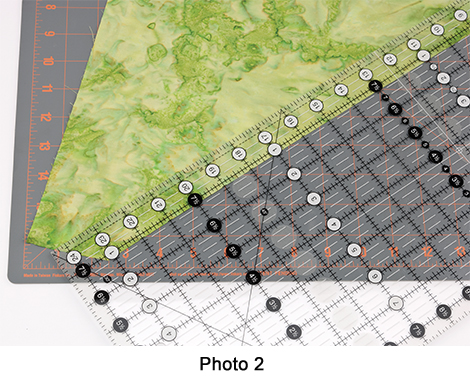
| 4. Position the ruler along the first cut. Cut strips 1 1/8" wide along the diagonal cut. As you see in Photo 2. | |
 |
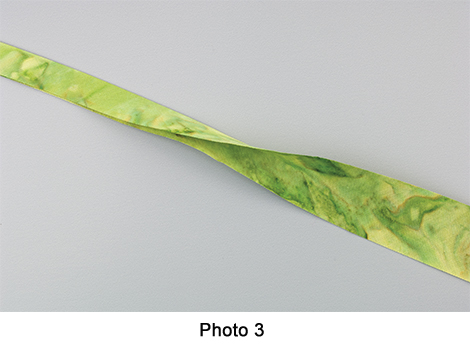
| 5. Carefully fold the strips in half wrong sides together lengthwise and press. As you see in Photo 3. | |
 |
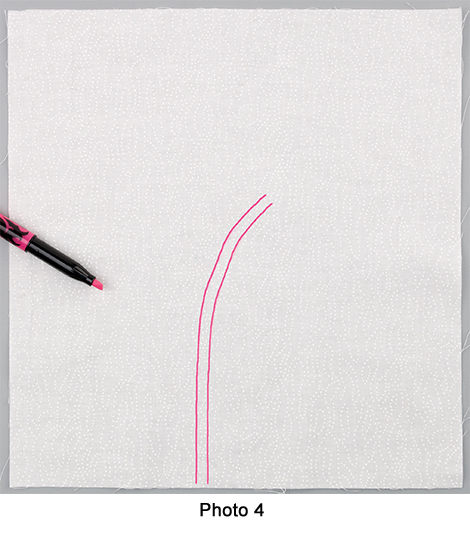
| 6. Draw a line with a fabric marking pen or pencil onto the right side of the fabric to mark the stem position. Mark a second line 1/4" to the left of the first line for the stitching line. As you see in Photo 4. | |
 |
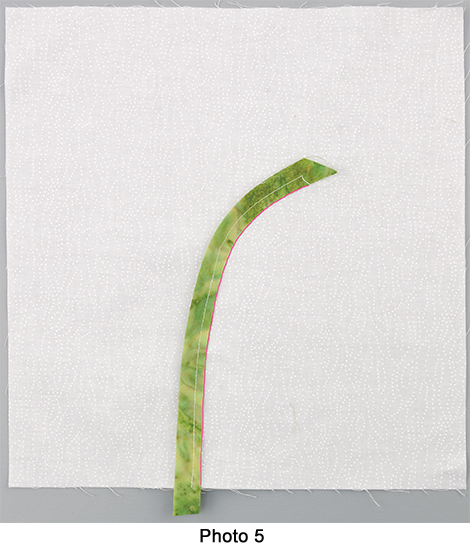
| 7. Align the raw edges of the bias stem strip with the right- or stem-position line. Machine-stitch in place using a 1/4" seam allowance. As you see in Photo 5. | |
 |
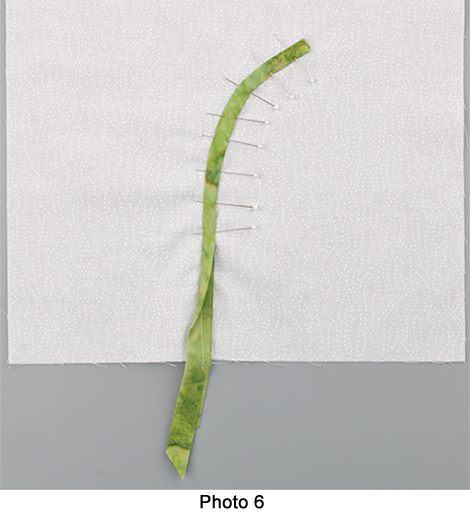
| 8. Fold the bias-stem strips folded edge over the raw edges along the stitching line and pin in place. As you see in Photo 6. | |
 |
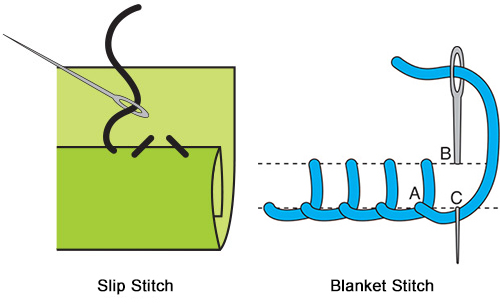
| 9. Hand-stitch the folded edge in place using a slipstitch or an appliqué stitch, like a blanket stitch. As you see in Photo 7. | |
 |
 |