
Copic Tutorial - Copic Colorless Blender Bleaching
By Colleen Schaan
Most of the time, my job entails teaching people how to color images using Copic markers. But sometimes people ask, "What else can be done with Copics?" This month I want to share a simple tutorial for using the Copic Airbrush System (ABS), a few favorite Copic colors and the Colorless Blender solution.
When I first started stamping, I learned every technique I could. One of my favorites was using household bleach to lighten colored cardstock. In this tutorial, I will show you just how easy it is to get a similar effect with Copic Colorless Blender solution.
Supplies Needed
- Glossy paper
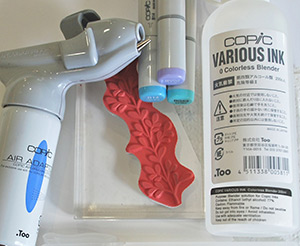
- Copic Airbrush System (ABS)
- Copic markers (2-3 coordinating colors)
- Colorless Blender solution (0) (in a spritz bottle)
- Solid-image stamp(s)
- Paper towel
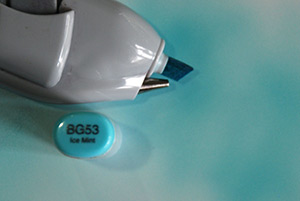
Step 1: Using the ABS unit, spray one of the ink colors onto the glossy paper. Do not cover the entire surface; lay the color down thick, but random. BG53 is used here (Photo 2).
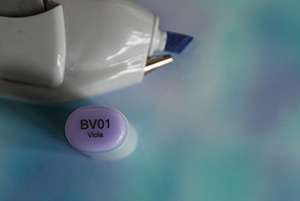
Step 2: Again using the ABS, add an additional layer of color. Create a random pattern, covering more of the paper surface. BV01 is used here (Photo 3).
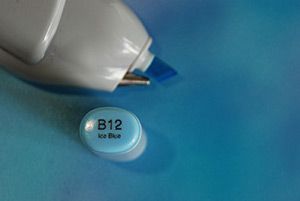
Step 3: Complete the inking process by layering on a third color. Make sure the entire surface is covered. The example uses B14 (Photo 4).
Step 4: Fill a small spritz bottle with Colorless Blender solution. Spray the Colorless Blender solution onto the surface of a solid-image stamp. Mist lightly from a distance of 6-8 inches; two to three quick pumps should be enough (Photo 5).
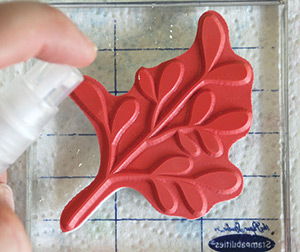
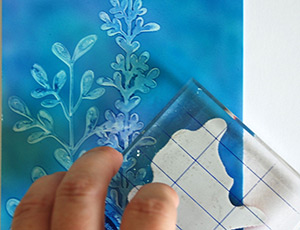
Step 5: Working quickly, press the moistened stamp onto the airbrushed surface of the paper. Hold for about five seconds (Photo 6).
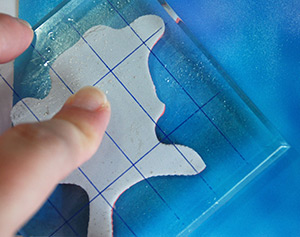
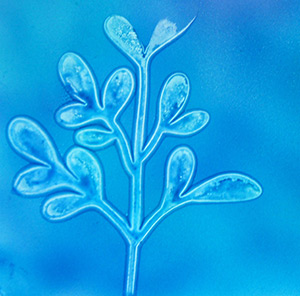
Step 6: Remove the stamp to reveal the "bleached" image (Photo 7).
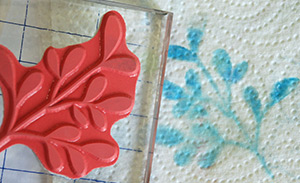
Step 7: Before re-misting and stamping again, wipe off excess ink from the stamp with a paper towel (Photo 8).
Step 8: Repeat Steps 4-7 as necessary to complete the pattern (Photo 9).
Tips, Tricks & Troubleshooting
- Make sure the airbrushed ink covers the entire surface of the paper.
- Lighter colors will not cover or "bleach out" as effectively as darker shades.
- Using too much Colorless Blender solution will cause the ink to pool and the detail of the image to be lost.
- Create multiple layers by stamping with colored ink over the bleached background.
- Use the finished image as a background paper or as a focal point in your next card project.
This Copic tutorial was first published in the Winter 2012 issue of CardMaker magazine. To get more information on Copic marker techniques:
- Purchase a copy of Colleen's book Copic Coloring Guide.
- Check out Colleen's blog, www.distinctivetouches.com.
- Subscribe to CardMaker magazine, where Colleen has a regular column featuring Copic marker techniques.


